Managing Columns
Managing Columns
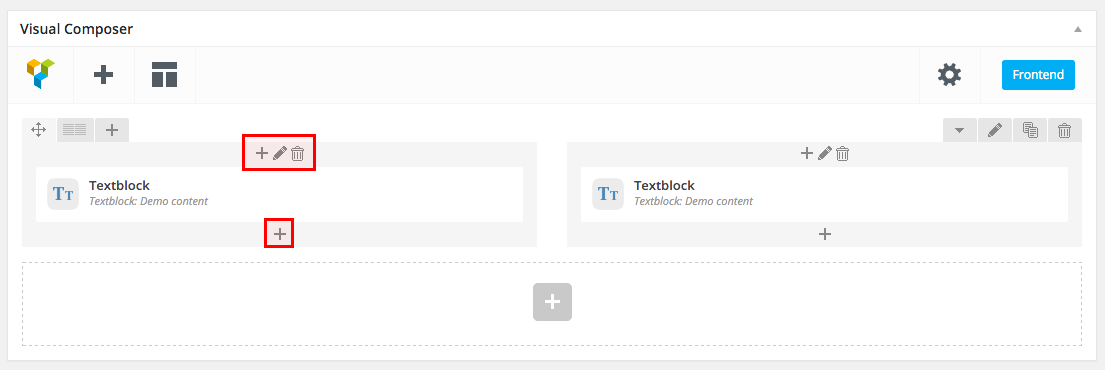
Once you have the desired number of columns in a Row you can manage each Column’s individual settings by clicking on the Toolbar icons of that specific Column. The Plus icon adds an element to the top of the Column, the bottom Plus icon adds an element to the bottom of the Column. The Trash Bin icon removes the Column. Access the Column Settings by clicking on the Pen icon.
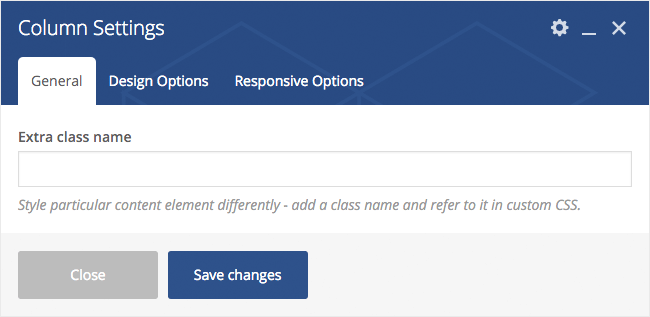
Column Settings - General
Access the Column Settings by clicking on the Pen icon. The General tab provides the option to add CSS classes to your Column if you wish to access it via CSS (can pass more than one separated by a space).
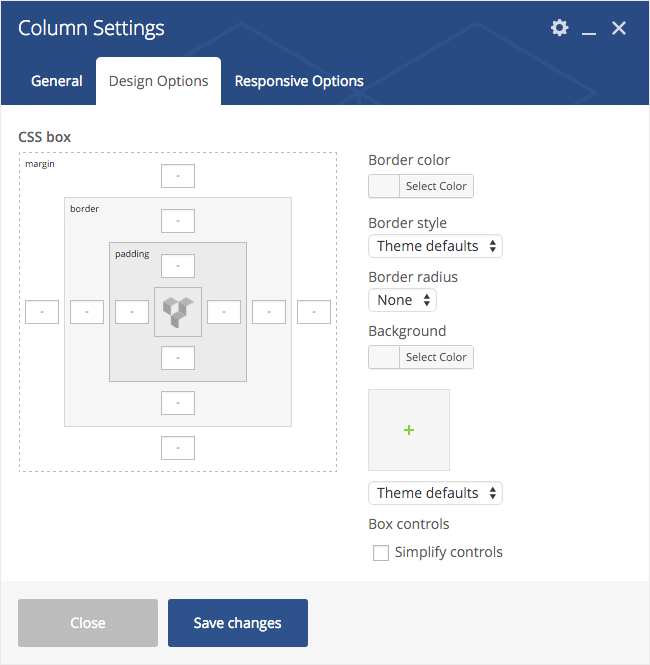
Column Settings - Design Options
Click on the Edit Column button (Pen icon, top of the Column). You will see the Column Settings Dialog popup. Then click on the Design Options tab. In this section you can customize your Column’s Design Options (Margin,
Padding, Border, Background).
Modify this Row’s basic Margins
By default the Bottom Margin of a Row is 35px so if you leave the bottom margin out it will default to 35px, should you have a no bottom margin – simply add a “0” value in the bottom Margin field. Make sure you leave out the side Margin fields empty as those values are controlled by your layout.
Set your Row borders.
After setting the border widths in the fields of the box model to the left (Top border, right border, bottom border, left border) you need to select a Border Color (to the right) as well as Border Style (Click on Theme Defaults dropdown and select the border style from the dropdown).
Set your Row Paddings (top, right, bottom, left).
Make sure you leave out the side Padding fields empty as those are taken care by the layout. If you want to you can add side paddings to your Columns instead. In the example displayed we have set a top padding of 200px and a bottom padding of 200px.
Select your Row’s background settings.
Pick a Color or/and Background Image (and) Background Style. Make sure you pick “Cover” if you want the Row to be fully covered by a single background image.
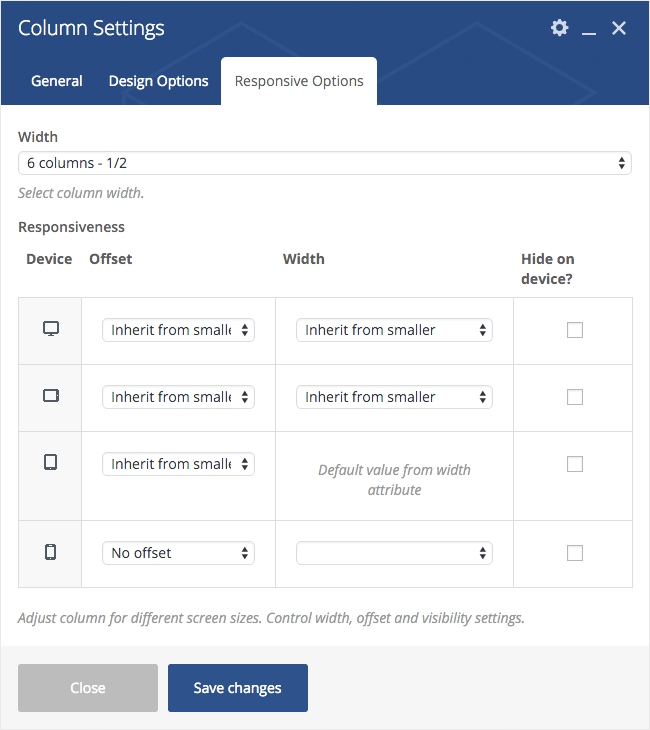
Column Settings – Responsive Options
Click on the Edit Column button (Pen icon, top of the Column). You will see the Column Settings dialog popup. Then click on the Responsive Options tab. In this section you can customize your Column’s Responsive behavior and overwrite its width. For example you can force this Column to change its width in Tablet View or hide it in Phone View.