Adding/Editing Page Elements
Adding/Editing Page Elements
Adding Page Elements to your Page is pretty straightforward. First you need to have created a new page, added a Row to it and defined your Row Columns (read more in the previous section).
Click on one of the Plus icons within the column you want to add a new element to.

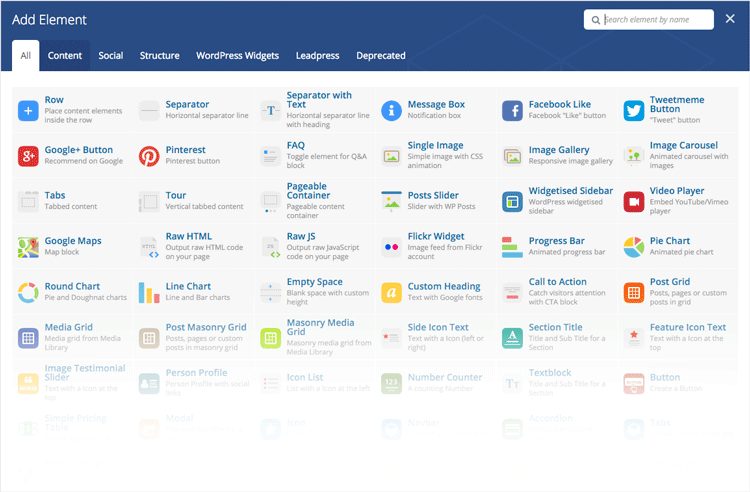
The Page Elements dialog will appear. Click on the element you want to add to your Column/Row.
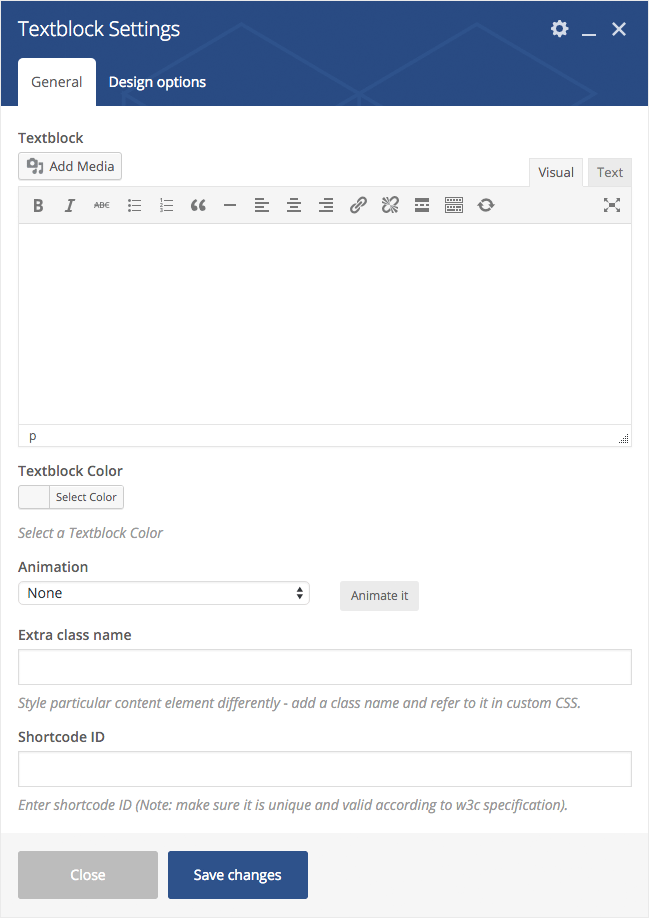
The Element Settings dialog of the Element you are adding appears. Customize your element anyway you please, then click Save.
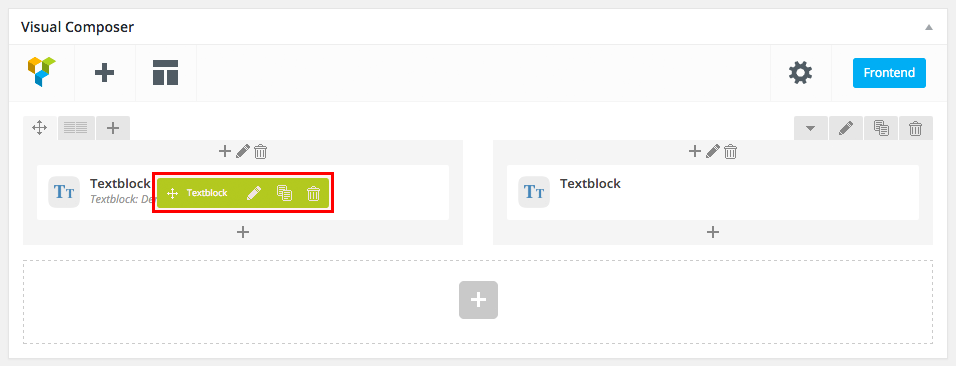
Your element is now in the Column you added it to. Once you hover over your newly added element you will see a small popup that lets you manage it. You can do the following with your elements:
- Move – Drag your element via the Direction Icon to move it around within the Column, Row or Page.
- Edit – Click on the Pen icon to edit your Element’s properties.
- Clone – Click on the Copy icon to duplicate your Element.
- Delete – Click on the Trash Bin icon to remove your Element.